Difference between revisions of "Create Course"
(→Credit hours & Additional Credit) |
(→Notes: Please insert any applicable pre-work or materials needed) |
||
| Line 75: | Line 75: | ||
---- | ---- | ||
| + | [[#Course Creation Page | Back to Top]] | ||
| − | [[File:Notes.png | Notes]] | + | [[File:Notes.png | Notes]] |
| + | <br><br> | ||
====Attachments: 20 MB Max==== | ====Attachments: 20 MB Max==== | ||
Revision as of 16:09, 23 May 2018
Contents
- 1 Course Creation Page
- 1.1 Completing Course Details
- 1.1.1 Course Info
- 1.1.2 Department
- 1.1.3 Who is the Course Provider?
- 1.1.4 What grade Band is this most appropriate for?
- 1.1.5 What Content area does this professional learning relate to?
- 1.1.6 Credit hours & Additional Credit
- 1.1.7 Notes: Please insert any applicable pre-work or materials needed
- 1.1.8 Attachments: 20 MB Max
- 1.1.9 Is session follow-up required by the participant?
- 1.1.10 Archived
- 1.1.11 Course Survey
- 1.1.12 Allow participant to enroll in multiple sections of same course
- 1.2 Completing Course Settings
- 1.1 Completing Course Details
Course Creation Page
The Course Creation page is divided into two sections: Details and Settings

Completing Course Details
Course Info
2. Course Title - The title will be displayed in the course catalog and will appear on the participant's transcript. This is a required field.
3. Course Objectives - What will participants be able to know, understand, and do?

Department
Select the proper Department/Schools from the list below that is sponsoring the training. This field may look different since some roles allow users to provide training in multiple areas.

Who is the Course Provider?
This fields tells the visitor who is actually presenting the training.
- C&I Advisor - Select this option if the person who is delivering the content is a C& I Advisor.
- PD Advisor - Select this option if the person who is delivering the content is a PD Advisor.
- Vendor Led Advisor - Select this option if the person who is delivering the content is a Vendor is the one delivering the content.
- Compliance Based - Select this option if the training is required for Compliance. (ex. Bloodborne Pathogens)
- Other - For most users this will be the most common option. If your training does NOT fall in one of the other options above, select "Other"

What grade Band is this most appropriate for?

What Content area does this professional learning relate to?

Credit hours & Additional Credit
The State of Tennessee has outlined specifically what qualifies as PDP hours. Please check out the following FAQ for more information https://vlp.scsk12.org/kbase/content/36/158/en/what-qualifies-as-acceptable-activities-for-pdps.html

Notes: Please insert any applicable pre-work or materials needed

Attachments: 20 MB Max

Is session follow-up required by the participant?
Indicate what is required for followup. (i.e. submit lesson plan for review, share student work sample, etc.)

Archived
Once you have completed offering all of your sessions you will need to archive your course. This will prevent the Course from showing up in the Catalog. This is a very important step to remember!

Course Survey
Select the Survey that will best represent your target audience.

Allow participant to enroll in multiple sections of same course
If checked, users may enroll in more than 1 section of this course.

Completing Course Settings
Availability
A list of the locations for this course. If a user is in one of the listed locations, he/she will be able to search for this course.
Only individuals with the specified location will have the ability to view this course from the catalog. If you do not select at least one location, the course will not appear in any catalog searches conducted by end users.
- Click Set Locations to determine the locations where users will be able to see the course.
- Use the Select Type drop-down menu to select the district or school. Options will vary depending on your level of access in the system.
- Depending on your selection, you will need to select the specific district and/or school from the second drop-down menu.
- Click Add, then click Done.
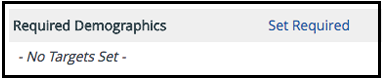
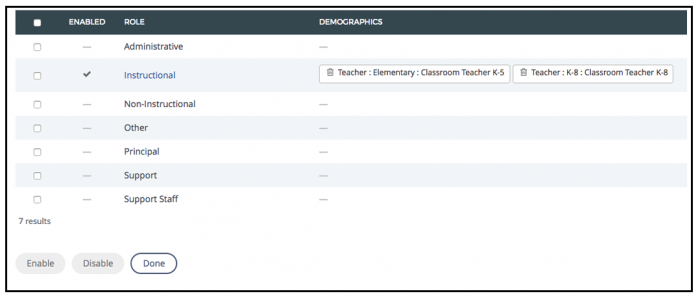
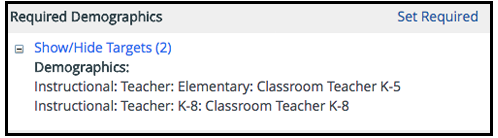
Required Demographics
A list of the demographics that this course is required for. Users with these demographics are required to take this course.
This option will put the course in a Required channel for the selected demographics. This setting should be used only if the course has an end date. If not, the course will remain in the channel indefinitely.
- Click Set Required to set required demographics for the course.
- Place a check in the box next to the demographic you wish to enable then click on the Enable button at the bottom.
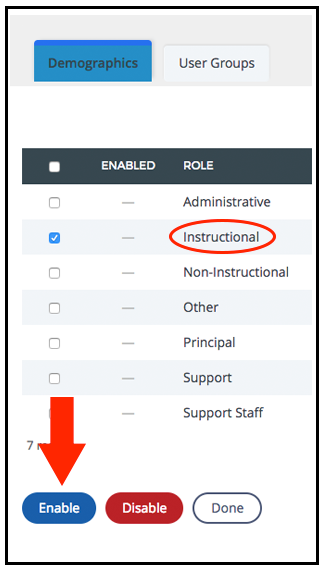
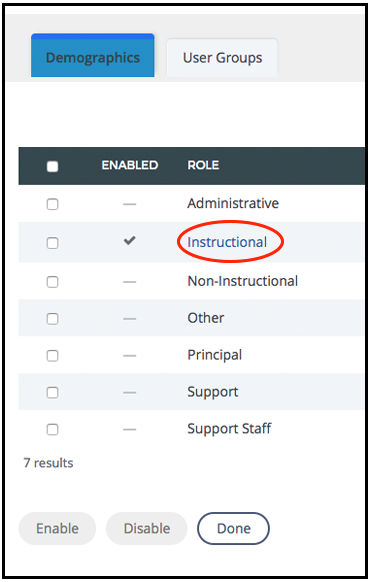
- This will change the demographic into a blue hyperlink. Click the hyperlink to access additional, more specific, demographics.
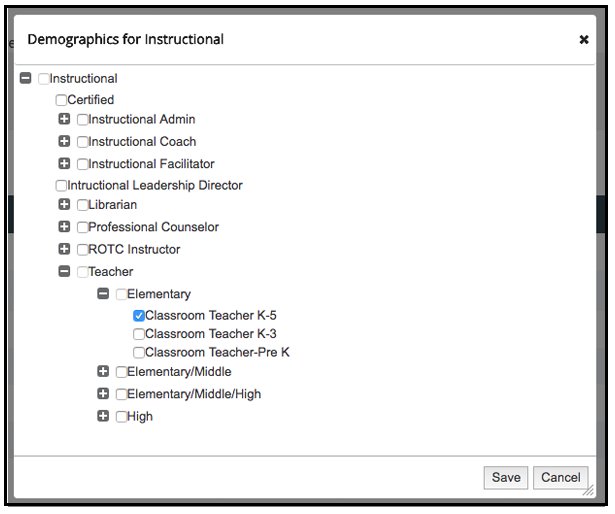
- Use the plus sign to continue expanding and place a check in all applicable boxes. Click the Save button when completed.
-
Click the Done button when finished.
-
To see the demographics click on the Plus (+) button.


Recommended Demographics
A list of demographics that this course is recommended for. This course will be recommended to users with any of these demographics.
This option will put the course in a Recommended channel for the selected demographics. This setting should be used only if the course has an end date. If not, the course will remain in the channel indefinitely. Additionally, you should NOT recommend and require the same course to the same demographic.
-
Click Set Recommended and follow the same steps as above to set recommended demographic criteria.

- Place a check in the box next to the demographic you wish to enable then click on the Enable button at the bottom.
- This will change the demographic into a blue hyperlink. Click the hyperlink to access additional, more specific, demographics.
- Use the plus sign to continue expanding and place a check in all applicable boxes. Click the Save button when completed.
-
Click the Done button when finished.
-
To see the demographics click on the Plus (+) button.

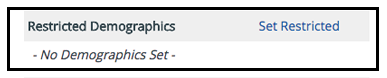
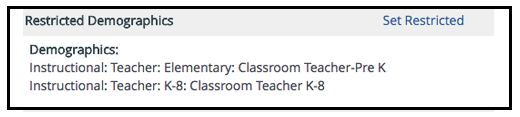
Restricted Demographics
A list of demographics that this course is restricted to. If specified, then only users with any of these demographics will be able to register for this course.
This option will allow you to restrict who can view the course in the catalog. This setting works with location and supersedes selections made under Required Demographics or Recommended Demographics.
-
Click Set Restricted and follow the same steps as above to set recommended demographic criteria.
- Place a check in the box next to the demographic you wish to enable then click on the Enable button at the bottom.
- This will change the demographic into a blue hyperlink. Click the hyperlink to access additional, more specific, demographics.
- Use the plus sign to continue expanding and place a check in all applicable boxes. Click the Save button when completed.
-
Click the Done button when finished.
-
To see the demographics click on the Plus (+) button.


Competencies


Subjects
A list of the subjects this course is currently aligned to.